Thursday, March 28, 2013

Tues 3.26


10 min EMOM

10 T2B

10 Push Ups


------------------


3 DL + 3 Hang Power Cleans 

+ 3 Shoulder to Overhead

(Complex completed as heavy as possible)


------------------


5 Rounds

8-10 Strict Pull Ups

6 Shoulder Press

Rest 90 Seconds


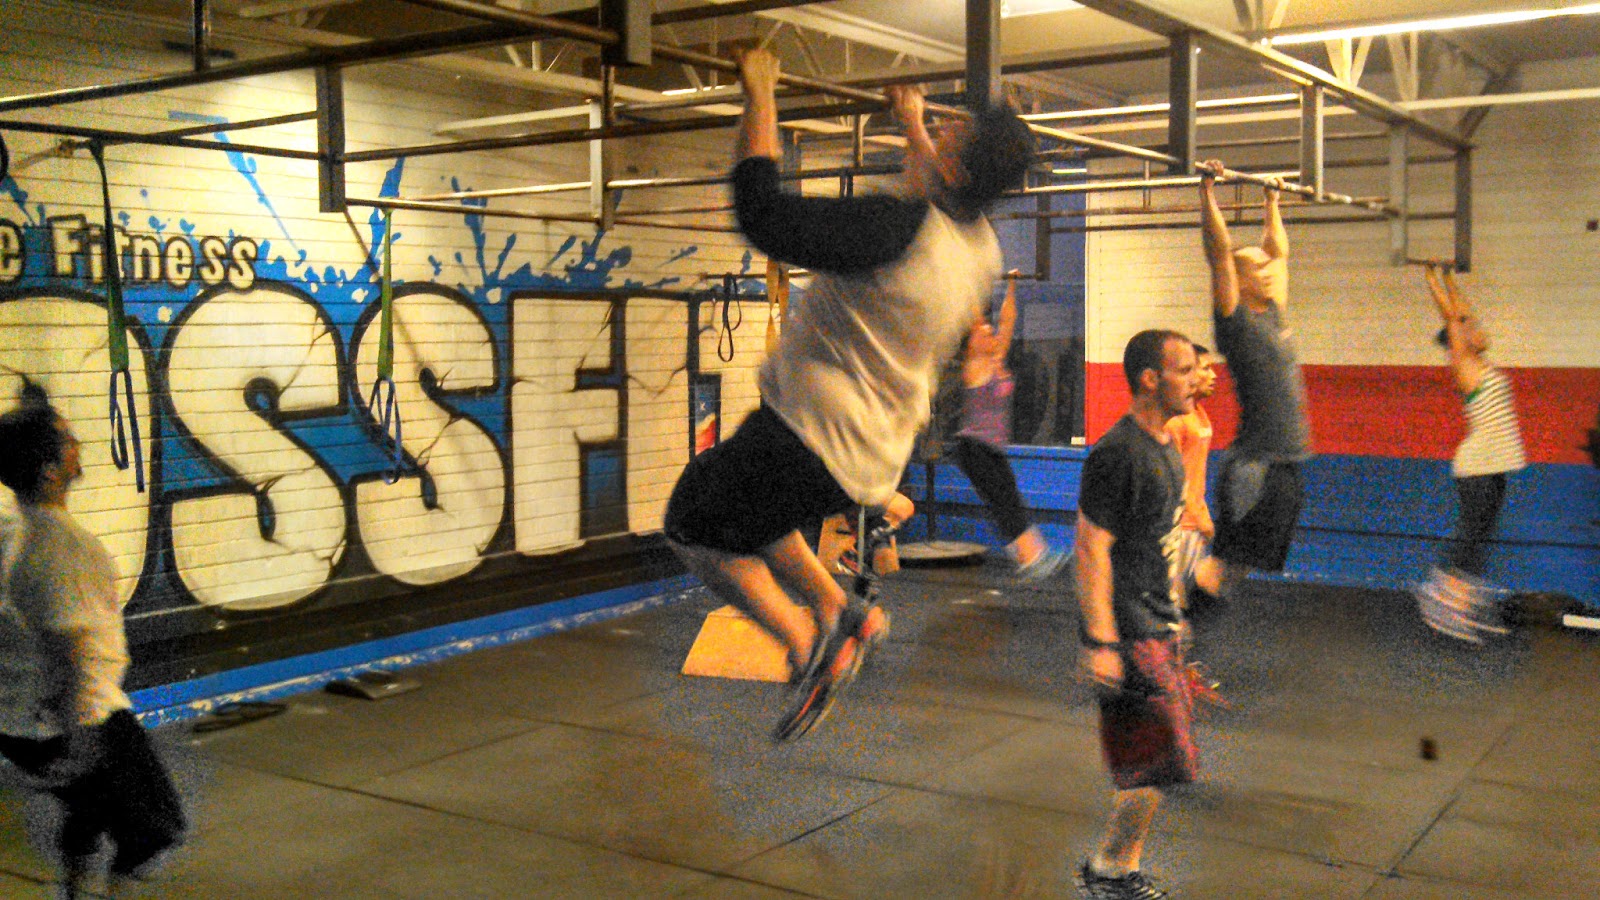
  Evidence of Brian working hard :)


Videos of Barbell Complex:

 Reggie, Frank: http://youtu.be/LxlOpTRJvHA
Brian, Alex, Victor: http://youtu.be/2CGGT8fUQF8 


Tuesday, March 26, 2013

Thurs 3.21


Sots Press 5x3 


------------------


Halting Muscle Clean

(go heavy but not max effort)


------------------


Clean Pulls 4x3 @ 95%


*Pic 1 Jania - awesome triple extension and shrug. next time use hook grip!! :)


*Pic 2 Alex - keep the bar closer. in the video you can see how the bar is a bit too far from you as you rise on reps #1 and #2. if it's closer to your hip, you can apply more force into the bar. notice how you could extend a bit more in your hips in the picture - results from being disconnected from the bar.


*Pic 3 Frank - nice extension and speed through the middle.


Video of Clean Pulls


(Visit here for YouTube video: http://youtu.be/IsPl9lxstok


Wednesday, March 20, 2013

Tues 3.19

20 min - Clean & Jerk 

(Power or squat, split or push jerk) 

-------------------------------

10 min EMOM - 

3 Power Clean & Jerk @ 75% +

20 Double Unders

-------------------------------

10 min EMOM - 

7 Chest to Bar Pull Ups 

+ 5 Strict HSPU


(Better video quality: http://www.youtube.com/watch?v=4j85VvAMQ-Y) 


Wednesday, March 13, 2013

Tues 3.12


1 Clean + 1 Hang Clean - AHAP (as heavy as possible)

(try to hold onto the bar between reps)


--------------------------------------

10 min EMOM  

2 Pause Hang Squat Cleans 

(3 second pause @ catch position)


Better Video Quality @

--------------------------------------

3 Rounds

1 min max Push Ups

1 min max Pull Ups

1 min rest


** Set a goal for yourself for each round and if you miss that, do 2 burpees at the end for each rep missed.


Tuesday, March 5, 2013

January Powerlifting Split

January Powerlifting Split & Understanding the Law of Accommodation


Hey crew,

It's been a while since we've had a post. Our team took two months - January and February - to depart on a strictly powerlifting split. I wanted to create a post afterwards with thoughts, comments, and overall reflections after we had finished the split. It was a fun two months. Here is a breakdown of what we did for January:


Methodology

  • Days of Lifts
    • Squat performed Tuesday
    • Bench performed Thursday
    • Deadlift performed Saturday 
  •  Main Lifts
    •  Each day of the week, we will perform the main lift at the beginning of the session - back squat, bench press, conventional deadlift. For the first cycle, we are doing five sets of each exercise, with varying repetitions over the weeks - 5 sets of 5 reps the first week, 5 sets of 3 reps the second week, and 5 sets of 1 rep the last. 
    • For January, we are doing 5 sets of each lift because we are aiming to hit a high volume of lifts - training with this much volume is meant to familiarize lifters with heavy demand on your body while helping lifters learn a bit more about themselves in a powerlifting atmosphere. 
    • Each set is to be done to an 8 or 9 out of 10 on an effort level (rate of perceived exertion - RPE). This lower intensity level is due to the high volume of sets we have.
  •  Accessory Lifts & the Law of Accommodation
    •  The accessory lifts are variations of the regular lift that are meant to work a certain position, speed, or weakness of the main lift. 
    • For example, in a band resisted squat, bands are placed at the ends of the barbell, providing tension on the way up from a squat after the lifter reaches parallel; it helps the lockout portion of the lift. In a pause bench, the lifter pauses for 3 seconds when the barbell is at his/her ribcage, focusing on keeping a tight upper back, staying on tension, and working explosivity out of the bottom position.
    • The Law of Accommodation
      •   The reason we work these lifts from different angles, tensions, speeds, etc. is to avoid accommodation - a plateau or a stagnation in progress and performance. According to Zatsiorsky, the response of a biological object to a given constant stimulus decreases over time.
      •  For the first three weeks, we work these accessory lifts and then for the next split in February, the lifters implemented a whole new slew of accessory movements, focusing on different points of performance. We implement three weeks for these lifts in order for members to be able to learn the lift and become proficient at it, and then move on once their body has learned and accommodated to it.
      •  Variations in lifts can be achieved with altering resistance: bands and chains -- bars: safety squat bars, cambered bars -- equipment: GHD machines, kettlebells, prowlers, sleds -- speed & position: dimmel deadlifts, stiff legged deadlifts, deficit deadlifts, Romanian deadlifts, sumo deadlifts, good mornings, high bar backsquat, low bar backsquat, zercher squats, box squats, pause squats, band resisted squats, pause bench, stability bench, board press, floor press, incline/decline bench,  -- and much  more.

Training Intensity

  •  For all of my members, this was their first powerlifting cycle. They all worked extremely hard and progressed in lifts which were entirely new to them - many of them have never benched before. However, in hindsight, it is important to understand the relevance of intensity vs. accuracy. When acquiring this new powerlifting skill set, it is important to understand that doing a repetition out of position can be a teaching tool, yet simultaneously a detriment if too rampant. If a lifter's movement is on point for 4/5 reps, that 1 rep in which they may have come forward on a backsquat will teach them to stay on their midfoot/heels. However, if a lifter is progressing too quickly with weight and 2/5 or 3/5 of the reps of the set are good, then those 2-3 reps performed not to standard are actually proving to be a detriment to training. It is important to push yourself for a harder weight (intensity), but not when it causes a large skew in accuracy. Bottom line: when acquiring a new skill set, be patient and be mindful with weight jumps. There is beauty in acquiring the position and movement of a lift, not only in achieving higher weight.


Stay tuned for our next post: February Powerlifting Split & The Intensity Cycle 


Wednesday, January 23, 2013

Spotlight On: Box Squat & Band Resisted Squat


In our current training cycle, we are utilizing a few accessory movements to compliment our main lifts. Here is an overview of a few of them:


BOX SQUAT


  1. Box Height:  differs depending upon the goal, can slightly break parallel or right at it
  2. Foot Stance: wider than shoulder width - think sumo - feet slightly toed out 
  3. Low Bar: with a wider stance and and positioning, a low bar will help the bar stay over your heels as you descend back and down
  4. Hips Back: Initiate with the hips back - hamstrings extremely lengthened - and reach butt back as far as possible 
  5. Shin Angles Vertical: this ensures that your glutes/hams stay as active as possible - knees out keeps this position
  6. Contact With Box: keep your chest up and continue to reach back until you are sitting, but not bouncing on the box - should be a controlled touch and go movement
  7. Box Takeoff: drive through the heels and knees out - explode!

 Importance of the Box Squat

The box squat is a posterior chain exercise that powerlifters use to make gains on your deadlift and squat; it is an oftentimes safer version of a normal squat since it is much harder to round the lower back. The goal here is to have a completely glute and hamstring dominated squat - quads are eliminated. This is accomplished by reaching back as far as you can with your butt and keeping your knee from going over your toe.


-------------------------------------


BAND RESISTED SQUAT

(Purple thin bands pictured above)

Set Up

  • Stance and position is the same as normal backsquat 
  • Wrap bands of desired resistance around the bottom of the squat rack about 1 foot away from the rack 
  • Bands can either be placed inside of the weights closer to the lifter or outside of the weights as plate security

Execution

  • Descend into a squat normally - initiating the movement with your butt back, weight in heels, chest upright, knees out
  • Resistance is greatest at top, reduces to zero resistance below parallel, and regains once you squat upwards above parallel
  • In order to continue the drive on the way up, continue pushing your knees out 

Takeaways

  • The band resisted squat is a speed training tool - in order to complete these squats effectively, the lift's speed will need to be continuous and explosive, especially once the bands start reaching maximal tension (at the top)
  • This squat helps strengthen the sticky spot many lifters reach above parallel - the inner part of your quad and the center of your quad (vastus medialis and rectus femoris respectively) will be greatly engaged during this lift, due to the necessity to drive the knees out
  • Keeping your chest up will be even more essential during this lift since there is a band physically pulling the bar down - any deviation forward will pull you forward 
  • Safety: since there is a band physically attached to the bar, always use a spotter for this lift since dumping the bar is unsafe with a rubber band attached - there is a potential the bar could bounce and hit the lifter